The tree view displays the complete structure of your model. Click on a part in the 3D view and the treeview will display its name and position in the structure.
For performance reasons, the treeview does not display all parent parts by default. This is done on demand.
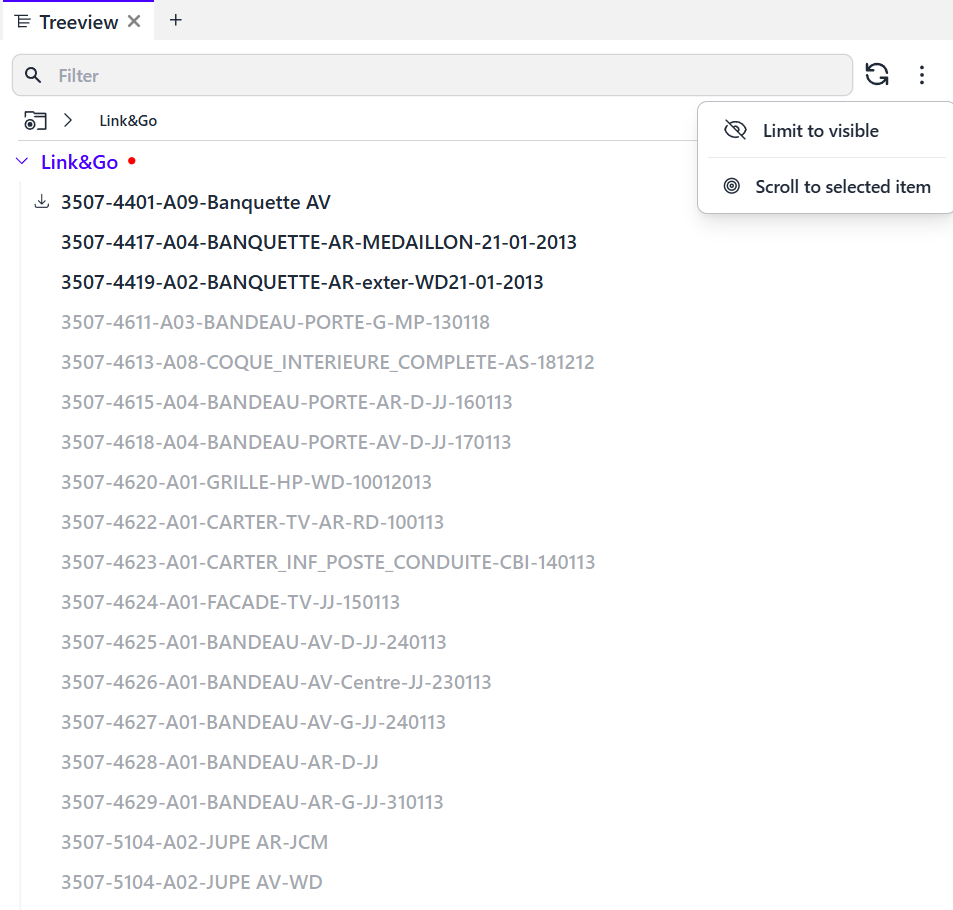
Non-visible parts are automatically grayed out to facilitate reading. (Expand the L&G node to illustrate)
If you wish to display only the visible parts, simply click the option at the top right of the window (“limit to visible“).
If you want to display only the parts related to a specific configuration, select the “limit to configuration” option.
In very detailed treeviews, the display of the part may appear truncated. Find it by clicking “Scroll to selected item.”
Right-clicking on a part in the tree view offers most of the same options as right-clicking on a 3D part or its information card.
This opens a context menu, from which several actions are available:
Set as root node
Helps clarify the tree view by defining a group of parts as your working context.
For specialized workflows, it’s possible to set a subsystem as the root node to focus only on that topic (right-click on the node, then “Set as root node”). This places the node at the top of the tree view. You can always return to the main root by clicking the breadcrumb at the top of the window.
Set as navigation center
Defines the central point for navigation.
Fit to selection
Zooms in on the selected part.
Keep /...
Allows you to retain a part within a filter that will be added to an existing layer or a new one.
Please note that only metadata checked in the favorite fields of the ID Card (of any part) can be used to create a layer. If the layer creation option does not appear, it is most likely due to the absence of selected metadata.
Reject /...
Creates a layer with the name of your choice and forces its state to “invisible”. Useful for hiding a part or group.
Select /...
Creates a layer with the name of your choice and sets its state to “does not affect visibility”. Useful, for example, for coloring.
Quick actions
(“Quick hide” and “Quick color”)
Allow you to instantly hide a part (which will appear in the “hidden geometries space”) or quickly apply a color to it.
These actions will not be replayed if the build changes or if you share your model. They are for temporary or illustrative use only. They will be saved in your view, but won’t be reapplied if the model evolves or is sent to someone else.