Connection
On your web browser, log in to the 3D Juump applications login page using your username and password.
You will then access your personal 3Djuump space.
Selecting a Project
The 3D Juump applications are grouped on the homepage. Click on one of them to access it.
The welcome page of the selected application displays the available 3D models. These are integrated by your administrator or integrator.
The second dropdown menu offers the different versions of the product. Again, only the administrator and/or integrator have access to this data.
A third panel offers the different configurations of the product.
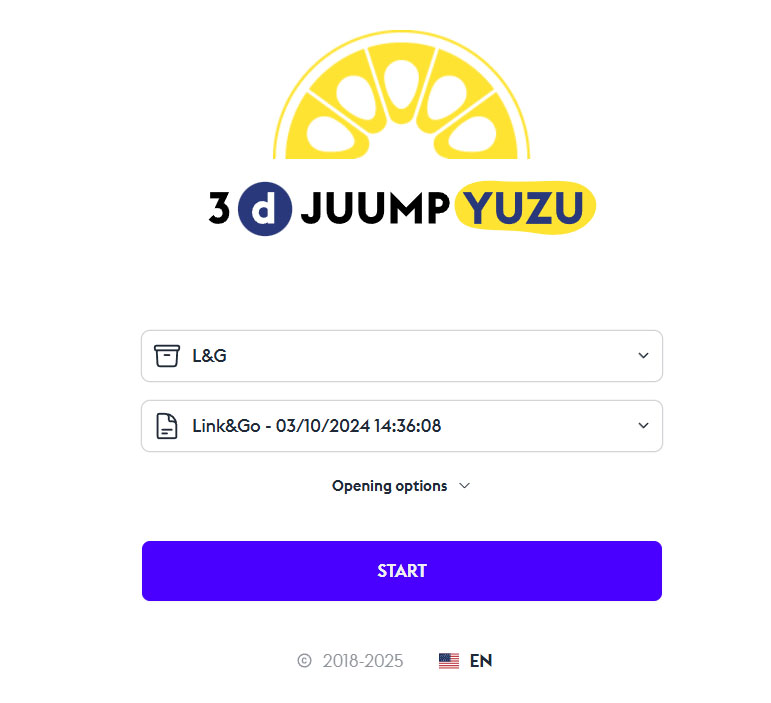
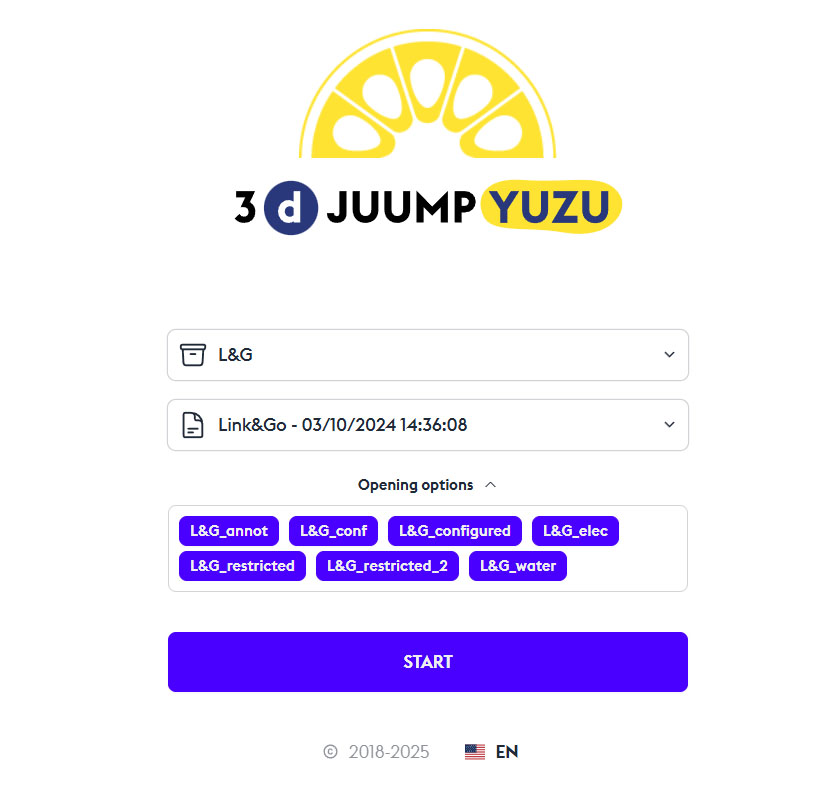
Press the Start button to begin.
Start
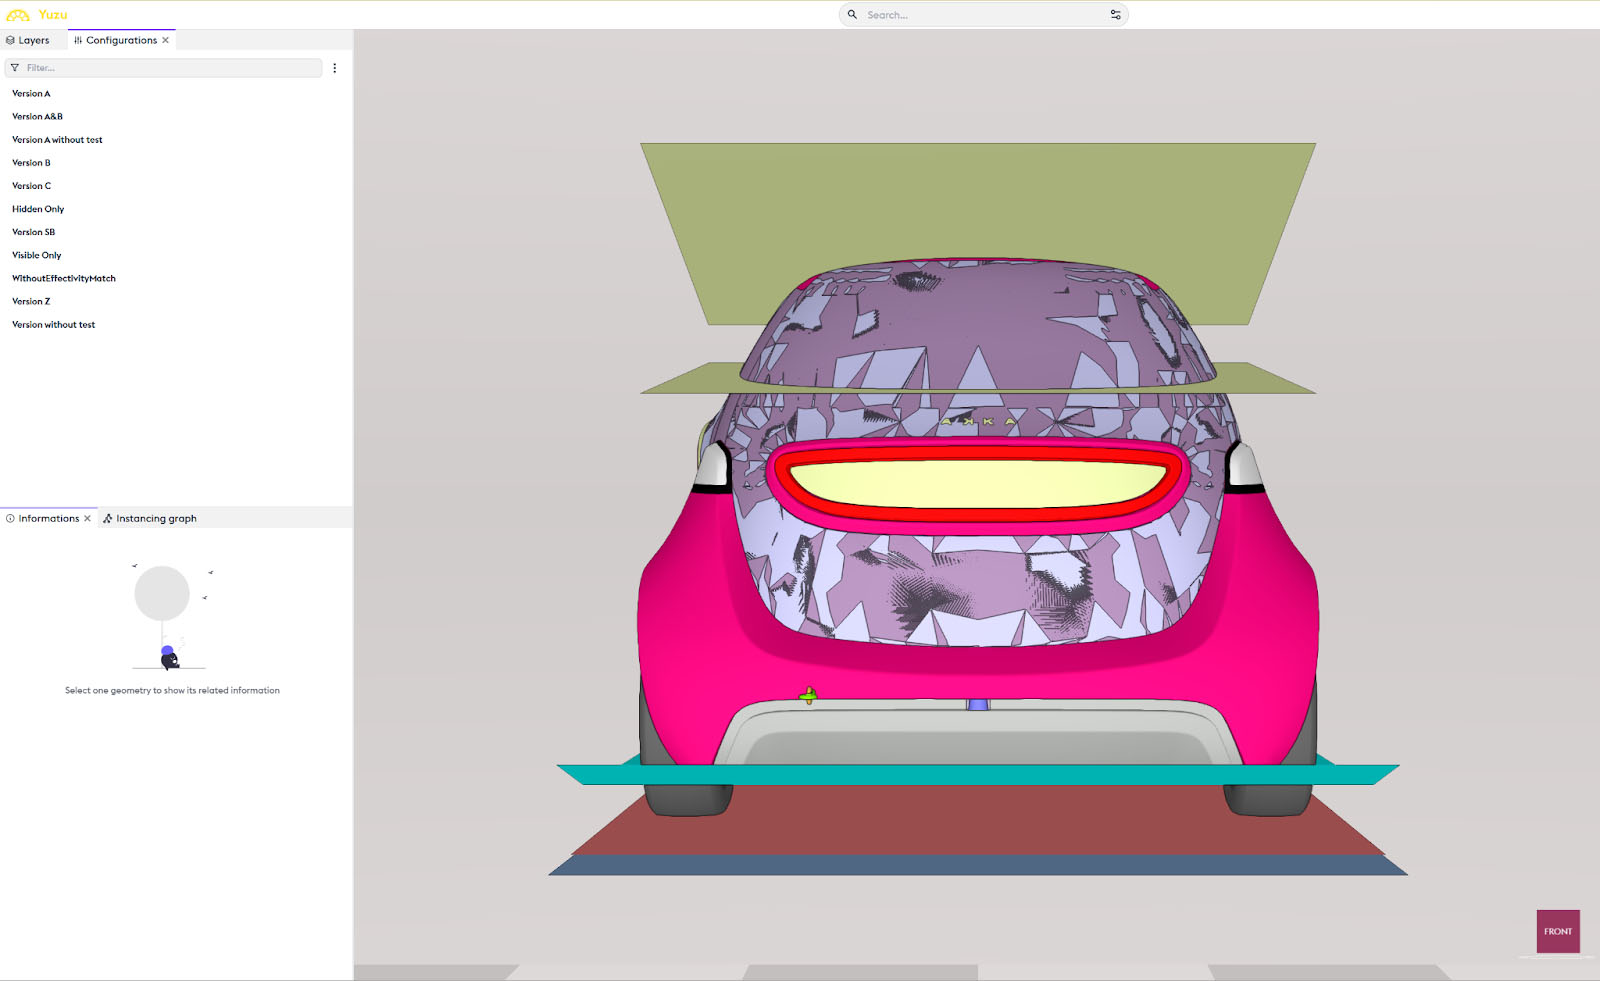
The original model, in its defined version and chosen configuration, then opens with all parts visible. This viewable model is grouped by default in a Layer. If filters are already present, they have been created by the administrator or integrator.
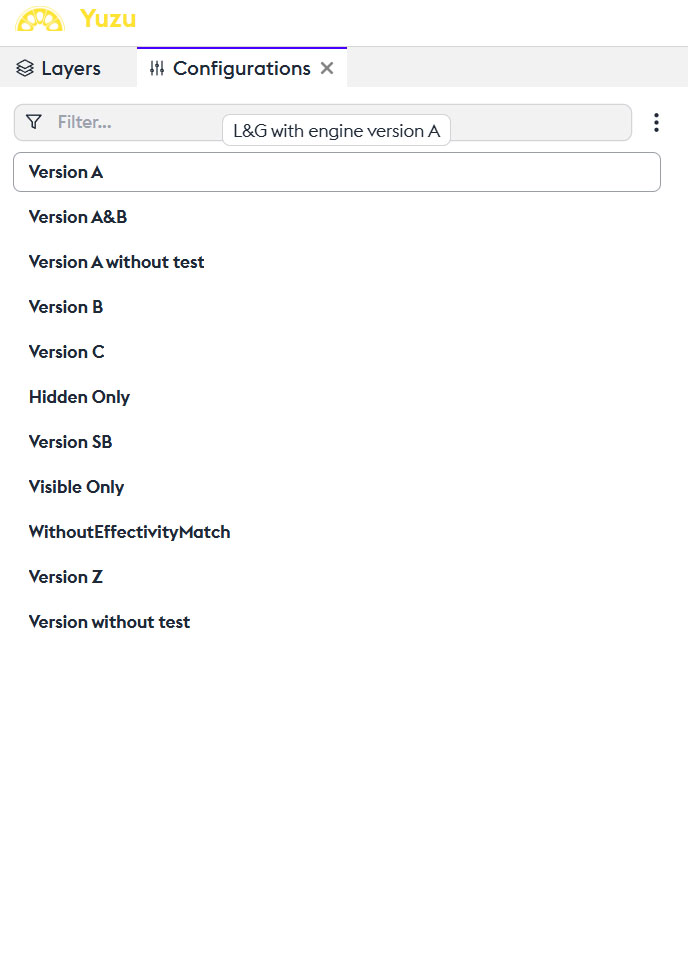
Modify the Configuration
The configurations of the model are viewable and modifiable in the “Configurations” panel. You can isolate or combine them.
Importing an Existing Project
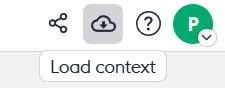
By clicking on the management menu at the top right, you have the option to load an existing build (“context”). You then access a summary of the Asset Manager, where you can perform a search. You open the project by double-clicking on it.
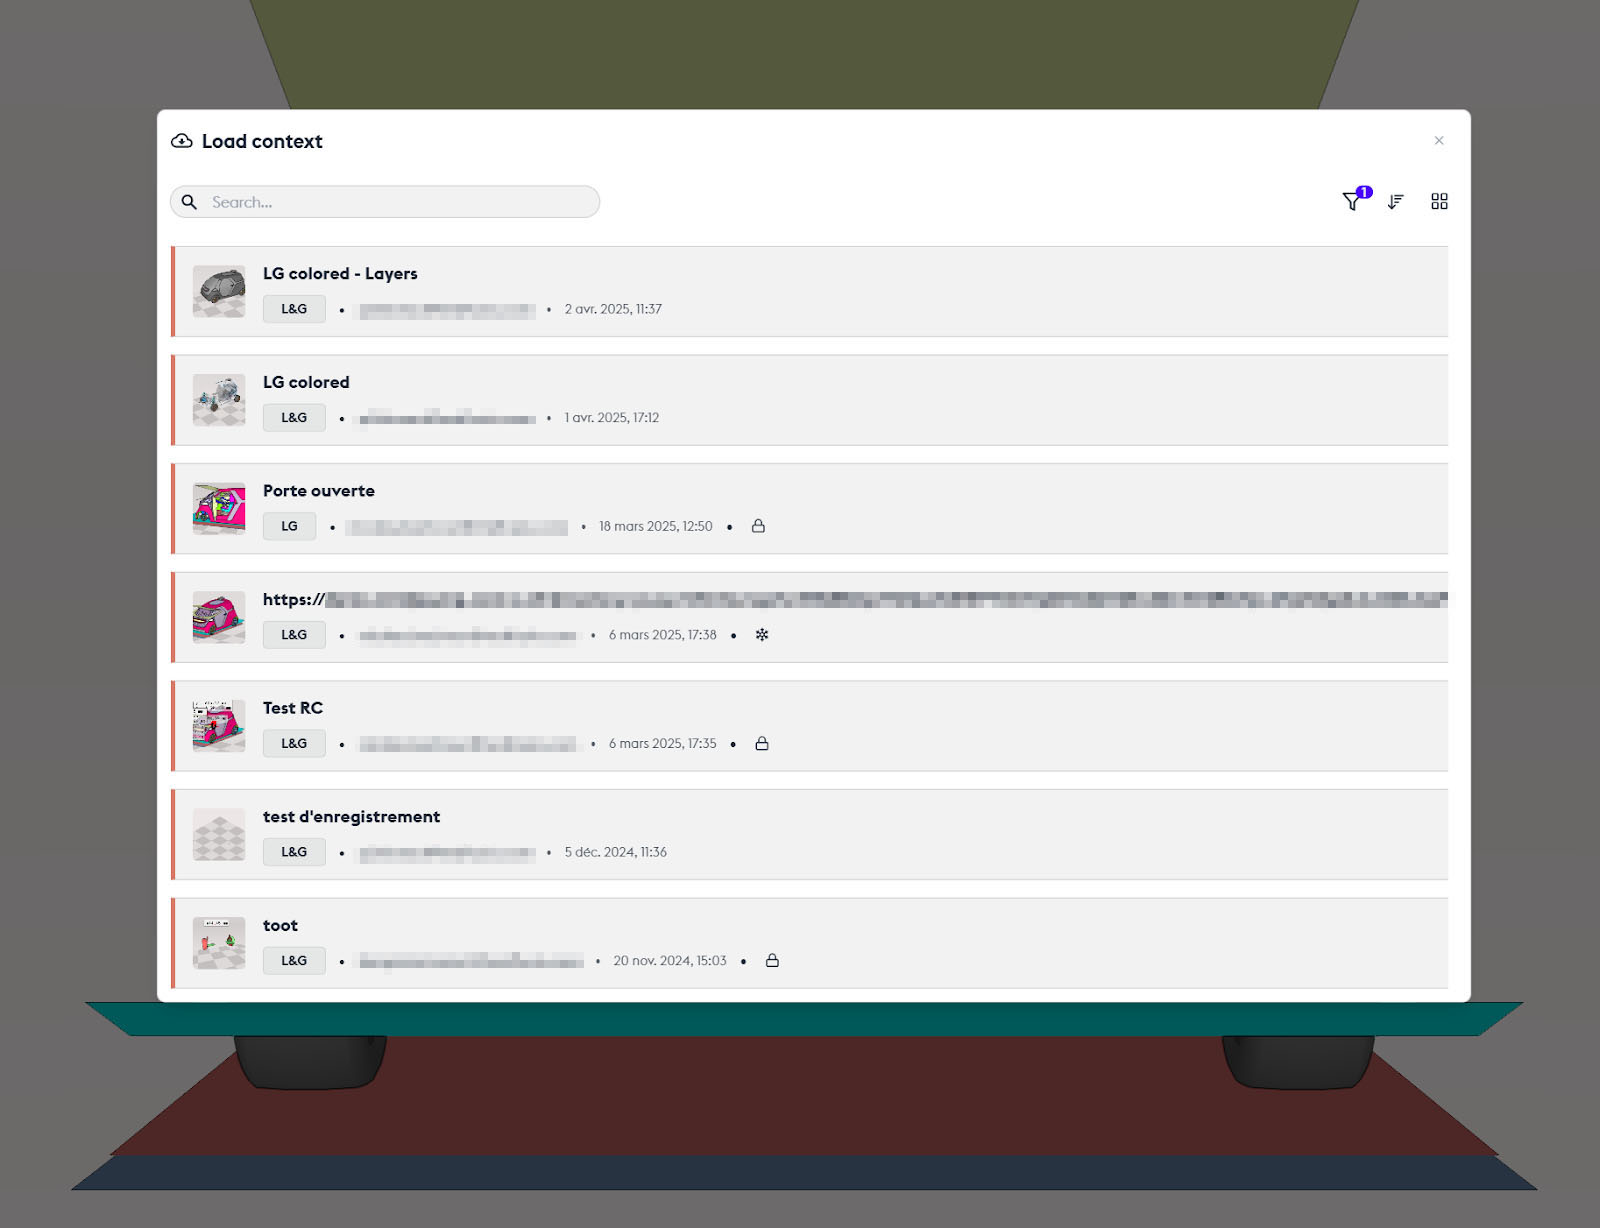
Asset Manager
The Asset Manager groups the projects of your company or team. Each project has options, usable according to your status: administrator, project creator, or simple consultant (affiliated collaborator). It also offers traceability of projects and management of access rights.
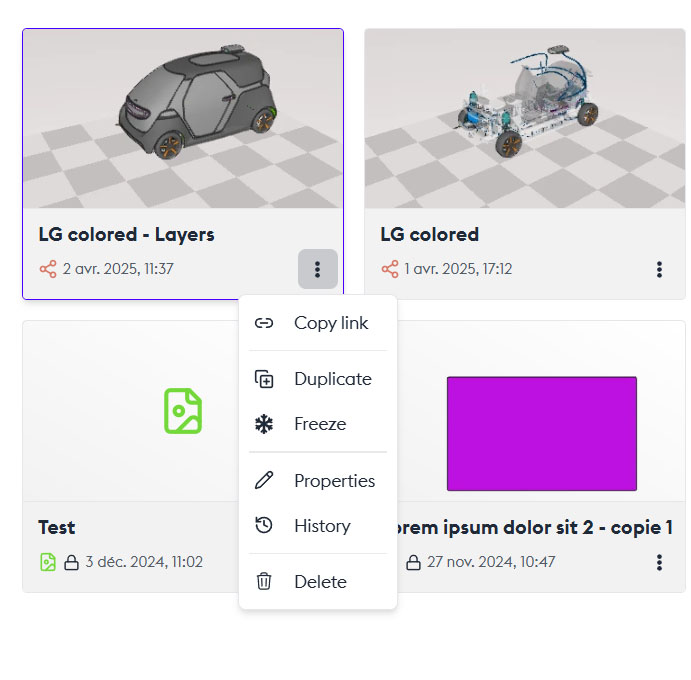
Asset Options
The “Copy Link” option allows you to copy the asset’s address. This allows you to send it for consultation to the contact of your choice.
Duplicate
The “Duplicate” option allows you to duplicate the asset. For example, if you want to start another asset from the previous one.
Freeze
This is an archiving at a specific moment. The asset is frozen, and only the administrator can change its state.
Properties
The “Properties” option allows you to access the asset’s information. Its name, description, tags, access rights (“Access Rights”) which can be defined by its creator or the administrator under 3 types of access: “Can edit” which allows any user to modify this asset. “Can view” which allows users to view the asset without making any changes to it. And “No right” which does not allow any intervention on this asset: the asset exists but access is denied to part of the team.
Security Tags
Security tags provide access rights to certain 3D data and metadata. Some parts are inaccessible or invisible as long as the user does not have the appropriate security tags.
You can also add a comment on the asset.
History
The “History” option opens an exploration box that details all changes and access to the asset. With the name of the build, the identity of the user or creator, and the security tags.
Delete
The “Delete” option allows you to permanently delete the asset.
Double-click on the asset
Allows you to open it.